

If you are using Windows 10, you may follow the steps below to set up your web browser (Google Chrome, Mozilla Firefox, or Microsoft Edge) to use automatic proxy configuration. If you are using older versions of Windows, you may follow the Windows proxy configuration guide instead. If you are using a Mac, you may refer to the Mac OS X guide.
1. Press the Windows button (see image below) to start searching within Windows 10. ![]()
2. Type ‘proxy settings‘ so Windows will show you the link to configure proxy settings. Press the Enter key. 
3. The NETWORK & INTERNET dialog box appears, showing the Proxy section. Click on the switch box under Use setup script to enable it (see image below). 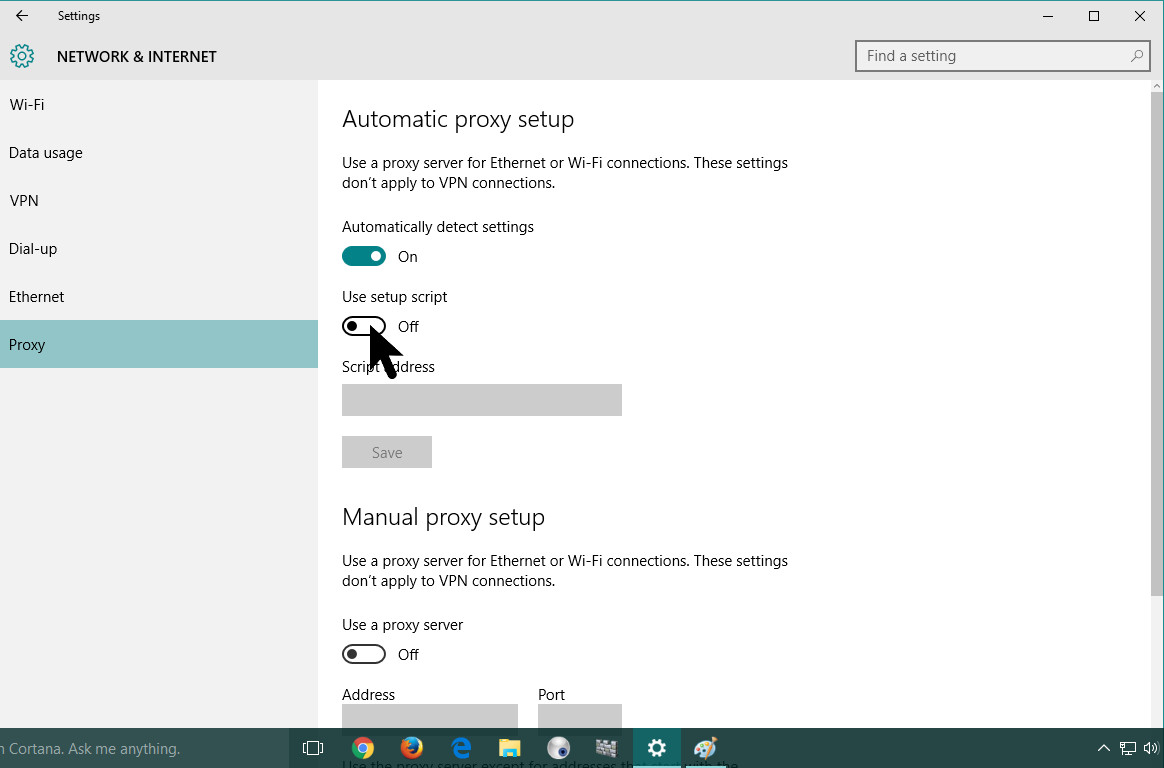
4. With the Use setup script enabled, type in http://proxy.uap.asia:8080/wpad.dat inside the Script address field box (see image below). 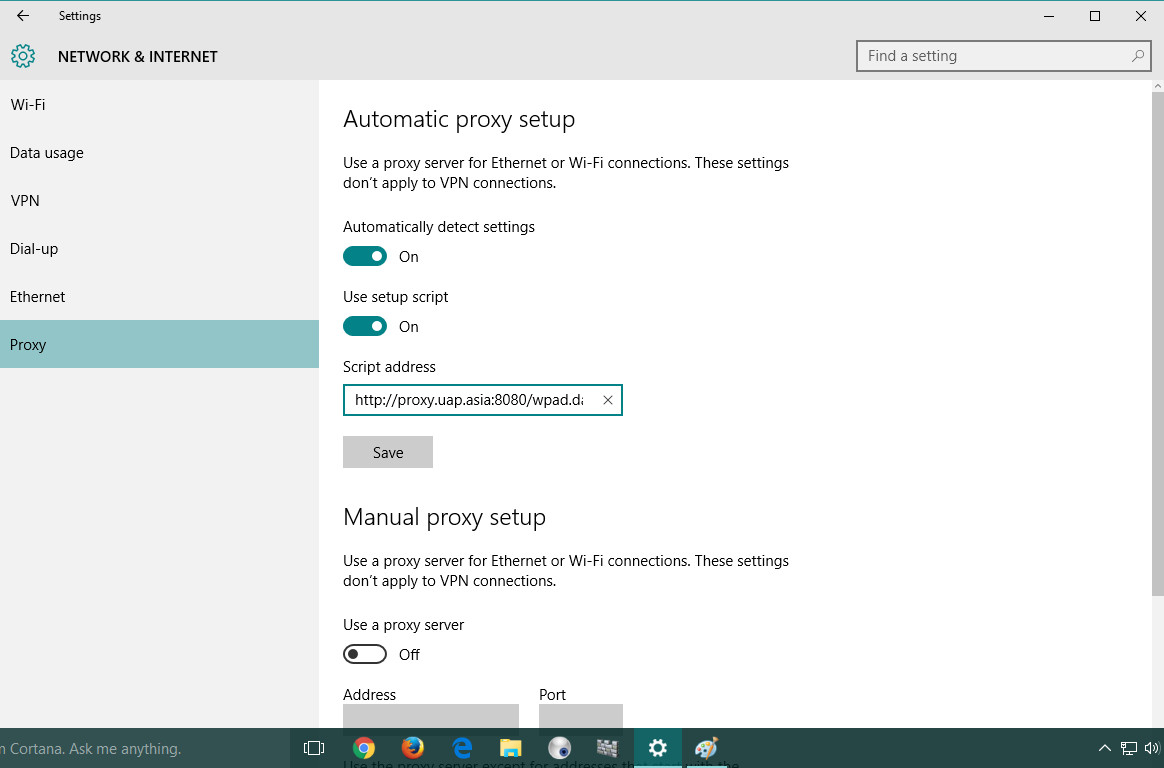
5. Click on Save to enable the settings. 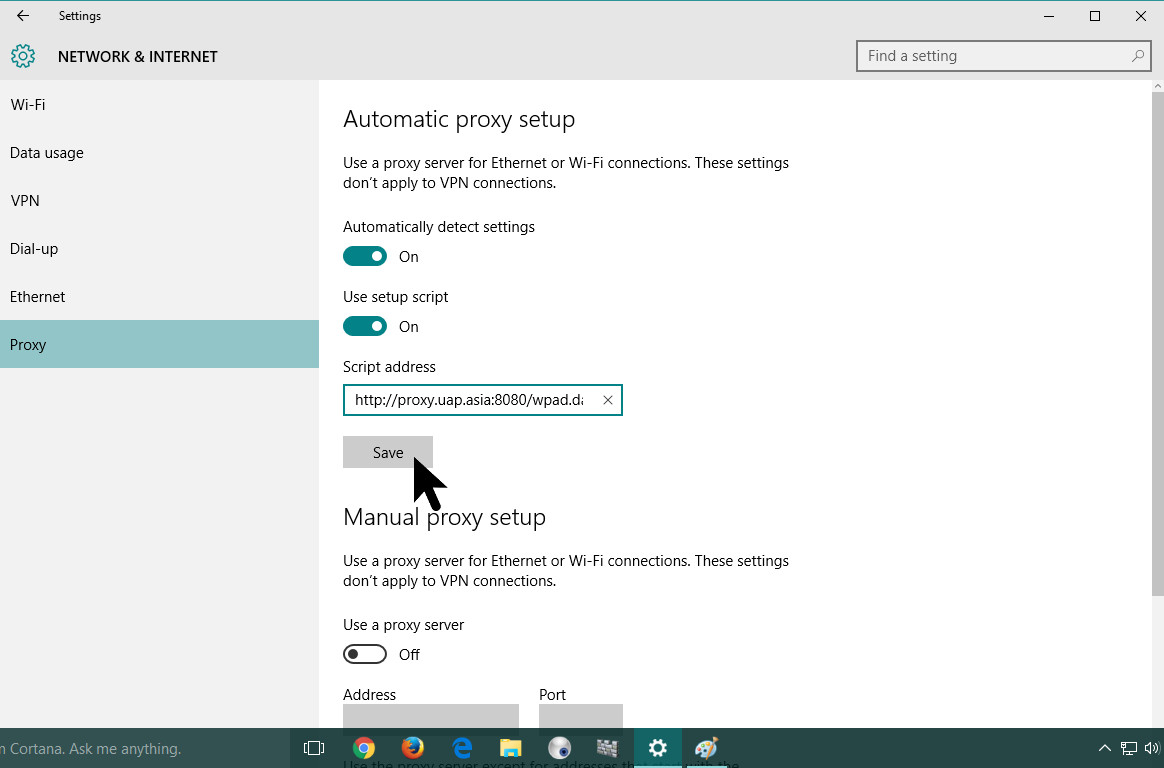
6. That’s it! You can now start using your web browser and type in your Off-Campus Access Account (OCAA) username and password if ever you are prompted.
7. If you were redirected to this page from the Off-Campus Access Instruction Guide, you may to the document and continue with the rest of the steps.